TP-LINK安防系统
下载地址
下载地址


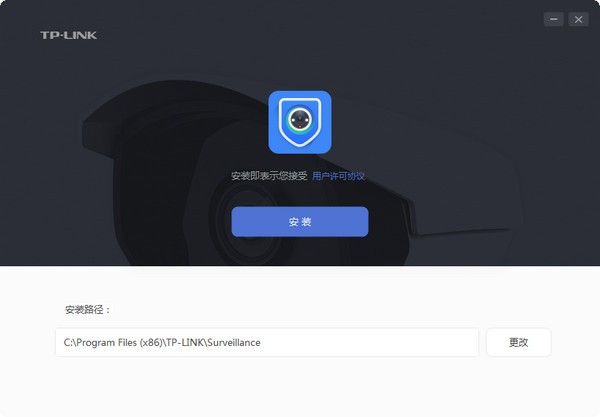
本地下载文件大小:98.9M
TP-LINK安防系统是TP-Link普联公司开发的一款远程视频监控平台。通过这款远程监控系统能够支持TP-LINK IPC、TP-LINK NVR的客户端,安装后与监控设备配套使用可以有效的监控区域环境,让监控室的管理人员能够更好的查看监控!

适用于TP-LINK IPC、TP-LINK NVR的客户端软件;
可用于管理TP-LINK IPC、TP-LINK NVR,提供网络配置、存储计划、录像回放、密码找回、远程预览以及远程回放等功能。
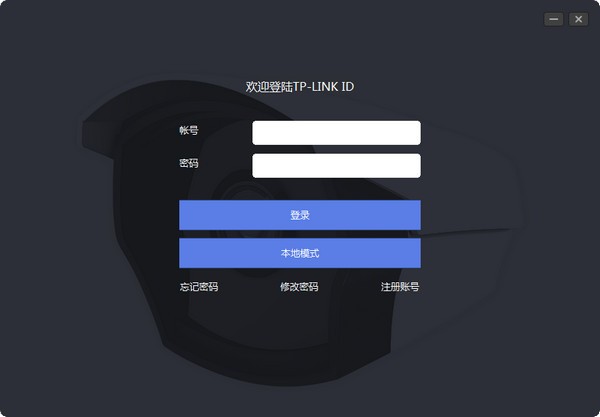
1、登录客户端
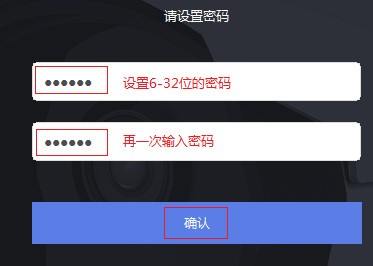
首次登录需要设置密码,请设置6-32位字符的密码。后续均使用该密码登录客户端软件。
2、配置并激活IPC
登录客户端后点击 设置 >> 设备列表 >> 待添加设备,可以看到未添加的IPC。
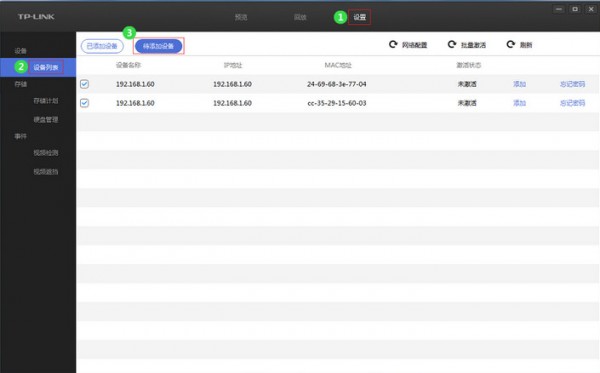
网络配置
由于IPC的IP地址默认都是192.168.1.60,为了避免冲突,因此先配置IPC的IP地址。
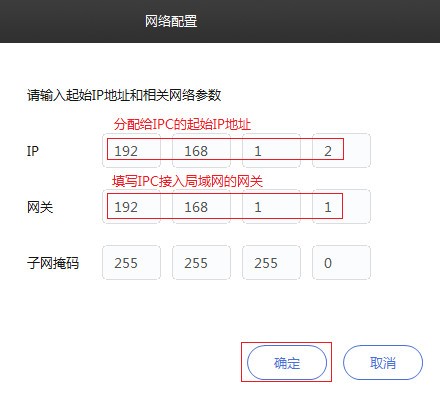
点击 网络配置,输入起始IP地址及网关。
注意:请务必先进行网络配置,再进行批量激活。否则批量激活会失败。
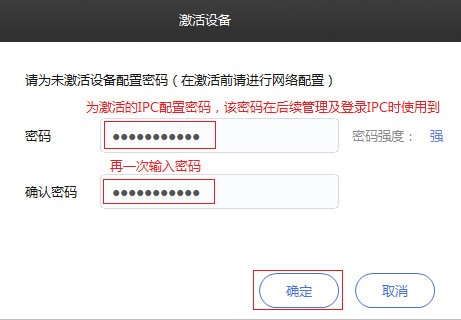
批量激活
确认 待添加设备 中未激活设备均已勾选,然后点击 批量激活,为需要激活的IPC统一配置密码。
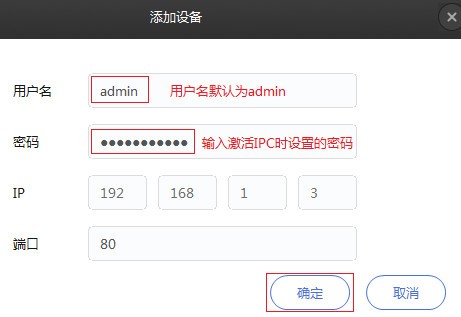
3、添加IPC www.kkx.net
待添加设备 中,点击 添加,输入IPC的用户名及密码。用户名出厂默认为admin,密码为激活设备时设定的密码。并点击 确定,如下图。
并选择录像的存储位置,点击 确定。
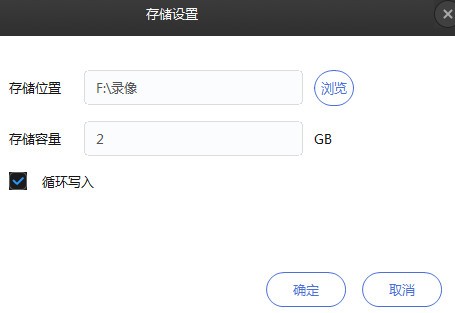
按照同样的方法,依次添加其他的IPC,并可以在 已添加设备 中查看到添加成功的IPC信息。

以上便是kk下载为需要查看监控的用户所分享的TP-LINK安防系统!
TP-LINK安防系统 V2.6电脑版98.9M返回顶部
Copyright © 2009-2025 KKX.Net. All Rights Reserved .
KK下载站是专业的免费软件下载站点,提供绿色软件、免费软件,手机软件,系统软件,单机游戏等热门资源安全下载!
本站资源均收集整理于互联网,其著作权归原作者所有,如果有侵犯您权利的资源,请来信告知
 IGNITION法国光盘刻录软件 v3.5绿色汉化版
 博优聚客云POS V2022官方版
 Win8.1最终极速稳定版
  青梧字幕(字幕提取) v0.9.13 官方版
 椭圆周长计算器 V3.14绿色版
 小葫芦直播录制助手 v2.39最新版
 A卡数字振动调节软件 v2.0.2绿色版
 eWebEditor v11.9.0绿色精简版