Ghost镜像安装器
下载地址
下载地址


本地下载文件大小:17.34M
Ghost镜像安装器基于Ghost 11内核的一款gho镜像安装工具,拥有简单快捷,使用方便的特点,能够支持SATA硬盘和多硬盘,支持FAT32和NTFS混合格式的硬盘,帮助你重装系统或者系统还原,无需刻光盘,无需制作U盘启动,选择好镜像文件,设置安装分区后点击开始即可重启开始自动安装!
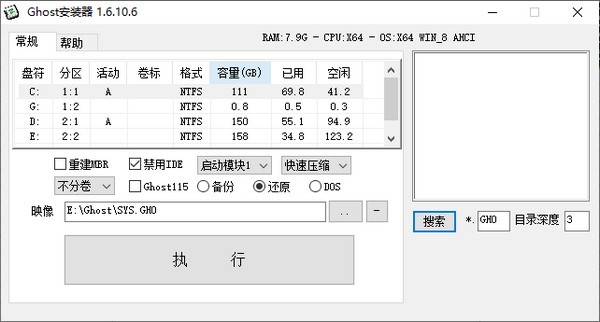
1.系统自动备份:选“备份”->点击“...”->选择保存目录->执行;
2.系统自动还原:选“还原”->点击“...”->选择Ghost镜像->执行;
3.从ISO中还原Ghost镜像:选“还原”->点击“...”->文件类型:光盘镜像(*.ISO)->选择iso文件->执行;
4.从网络中还原Ghost镜像:选“还原”->点击“...”->浏览网络中的机子->选择Ghost镜像->执行;
5.自动安装Ghost系统镜像:与本程序同一目录,且Ghost镜像命名为SYS.GHO->执行;
6.进入纯DOS环境:选“DOS”->执行->手动Ghost;
1.以XP系统为例,下载ghost安装器v1.6和Ghost xp系统镜像“GHOST.iso”到本地硬盘上(这里下载在D盘上),下载完用右键解压到GHOST(建议用winrar);

2.把系统镜像中“kkx.GHO”和我们下载的“ghost安装器.exe(GHO镜像安装器)”两个文件复制到磁盘根目录下,这里选择放在D盘里,一定不要放C盘或桌面;

3.双击“GHO镜像安装器.EXE”,安装位置点击“C盘”(C盘为系统磁盘),映像文件自动提取到kkx.GHO,接着点击执行;

4.选择“执行后”电脑会自动重启,执行格式化C盘,以及还原数据到C盘的过程;


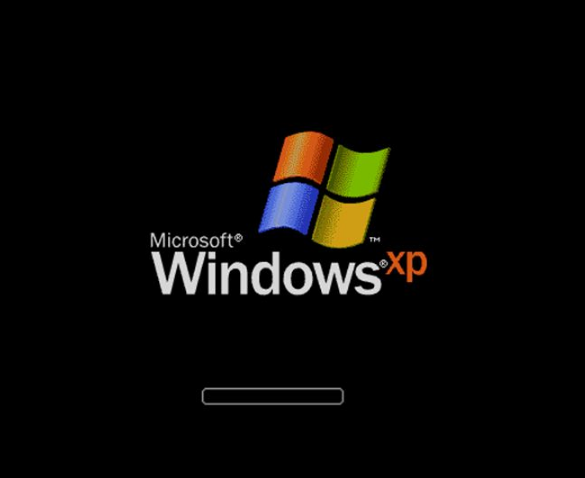
5.数据还原之后,电脑会自动重启,之后进入xp系统安装界面;
6.安装驱动过程;

7.全自动安装;

8.安装驱动和系统组件;

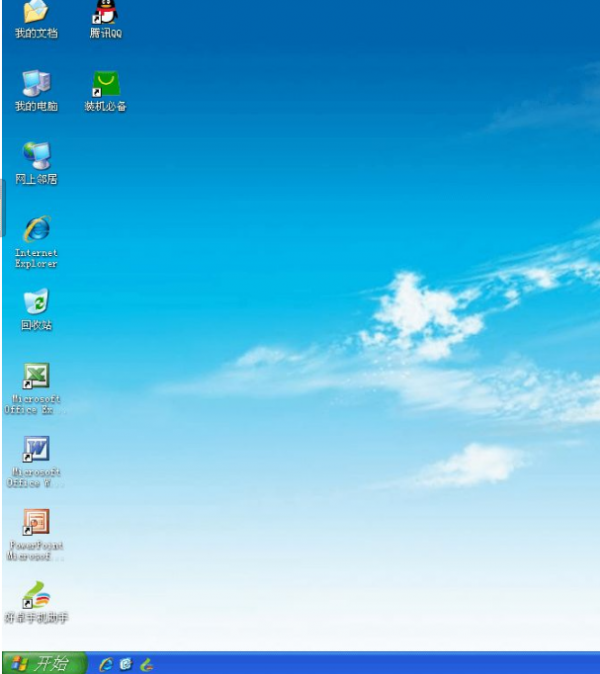
9.完成安装会重启电脑,重启后即可看到全新操作系统的桌面!
1.禁用IDE:-noide参数,SATA硬盘请勾选此项。
2.口令保护:对Ghost镜像设置还原口令。
3.启动模块:切换Grub,如果引导失败,请选择另一个启动模块。
4.自定义Ghost内核:与本程序同一目录,且Ghost主程序命名为Ghost.exe即可,否则,将使用自带的Ghost 11内核。
关于这款镜像安装工具的相信介绍就给大家分享到这里,有需要的用户不要错过了哦!
Ghost镜像安装器 v1.6.10.6绿色版17.34M返回顶部
Copyright © 2009-2025 KKX.Net. All Rights Reserved .
KK下载站是专业的免费软件下载站点,提供绿色软件、免费软件,手机软件,系统软件,单机游戏等热门资源安全下载!
本站资源均收集整理于互联网,其著作权归原作者所有,如果有侵犯您权利的资源,请来信告知
 u深度u盘启动盘制作工具官方版 v5.0.24
 Resilio Sync(文件同步软件) v4.0.0专业版
 GoodSync2Go(文件同步备份软件) v12.6.4.4
 傲梅轻松备份免费版 v6.10.1
 recuva(数据恢复) v4.0更新版
 Gho文件浏览工具(Symantec Ghost Explorer) v12.0.0
 小鱼一键重装系统大师最新版 v12.5.4
 Filegee个人文件同步备份系统 v11.6.7
