PS1模拟器(ePSXe)
下载地址
下载地址
")

本地下载文件大小:86MB
ePSXe是一款可以让你无需购买游戏机和游戏碟即可在电脑上就能轻松重温经典的PS1游戏的模拟器,喜欢的玩家不要错过!

1、将kk下载分享的压缩包下载到本地,然后解压ps模拟器epsxe中文版软件包(推荐使用360压缩:http://www.winwin7.com/soft/xtgj-746.html),得到exe安装文件
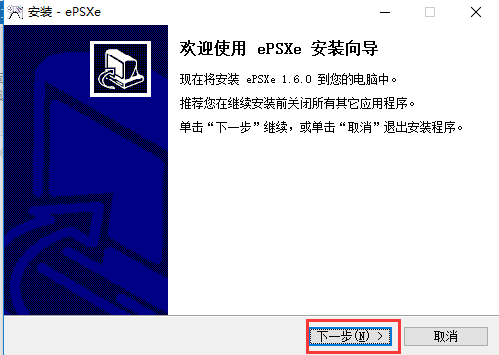
2、双击exe安装文件,进入ps模拟器epsxe安装向导界面,点击下一步
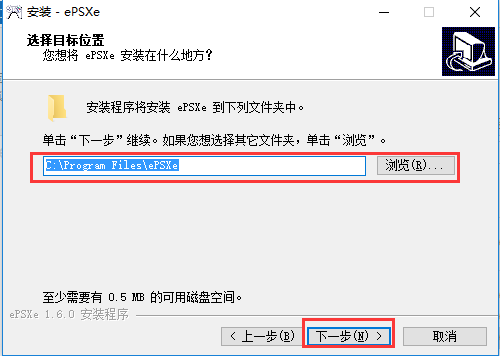
3、进入选择目标位置界面,可以默认安装到C盘或者点击浏览选择其它位置安装,再点击下一步
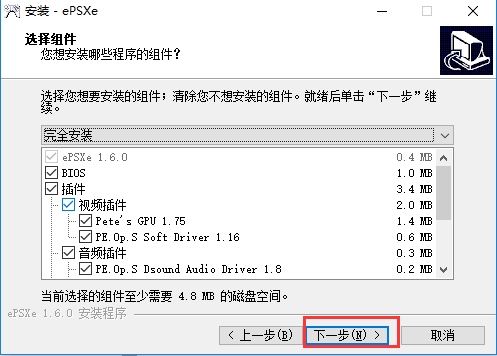
4、进入选择组件界面,直接点击下一步
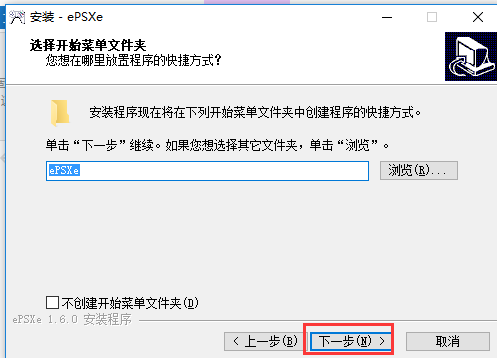
5、进入弦则开始菜单文件夹,默认即可,点击下一步
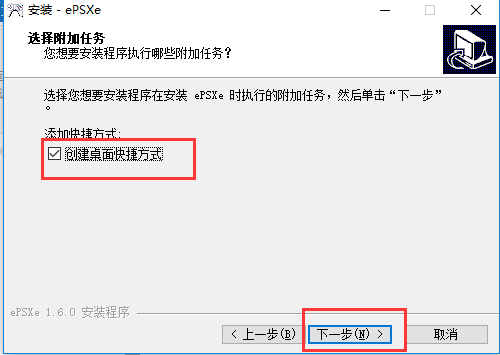
6、进入选择附加任务界面,勾选创建桌面快捷方式,然后点击下一步
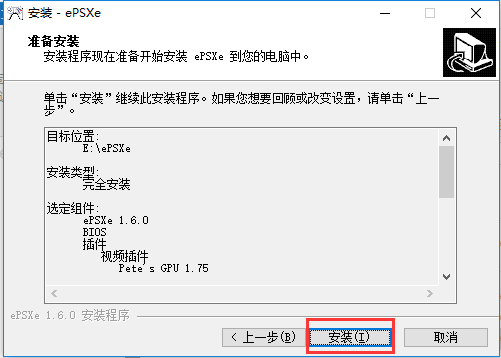
7、进入准备安装界面,直接点击安装
8、进入正在安装界面,耐心等待安装进度条完成

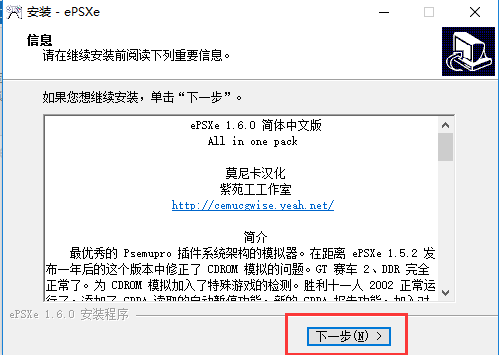
9、进入信息界面,直接点击下一步
10、ps模拟器epsxe安装完成,点击完成后就可以使用了
首先解压缩安装包,安装模拟器。
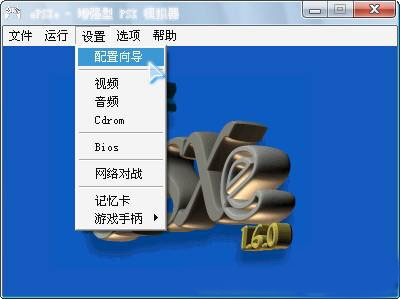
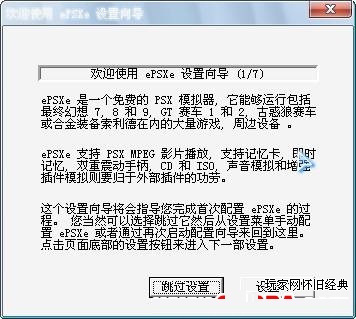
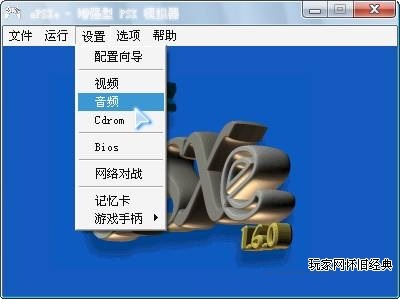
(1)第一次运行点设置→设置向导,在弹出的对话框中开始设置
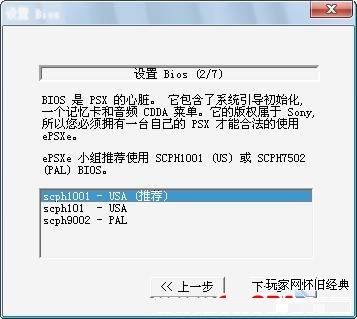
(2)点设置,先设置BIOS,这个用第一个推荐的就可以,选好点击“下一步”
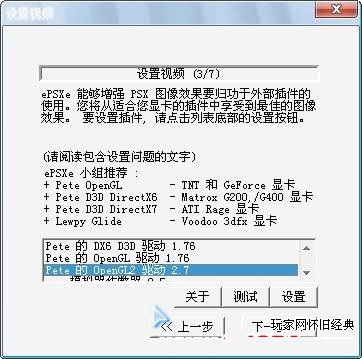
(3)设置视频,这是PS模拟器设置最关键的一步,效果好坏主要取决于视频的插件的设置
可以按上面推荐的选择插件,根据自己显卡选择,本人电脑是Geforce显卡,所以选择Pete的OpenGL2驱动 2.7,如果你的模拟器里有更高版本的插件也可以,选择插件后点设置。
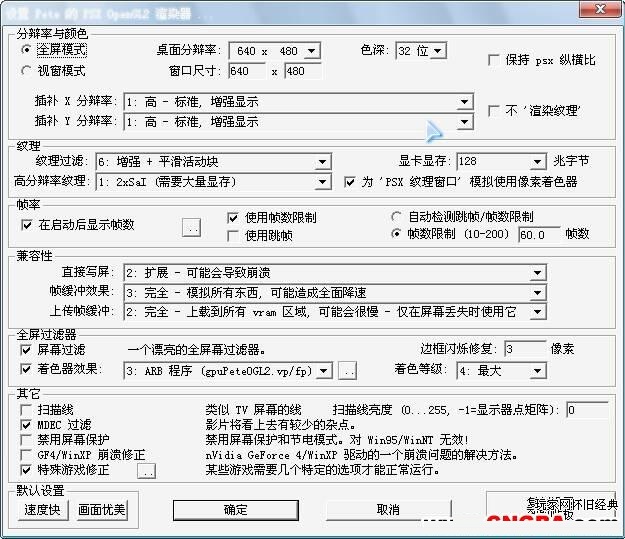
说明:分辨率最好用640X480,这是由PS游戏本身决定的,设得太高不一定好,色深选32位,下面的插补X,Y分辨率,电脑配置好的可以选用 2-非常高 ,要注意的是X,Y的选择要保持一致,否则会影响画面效果。
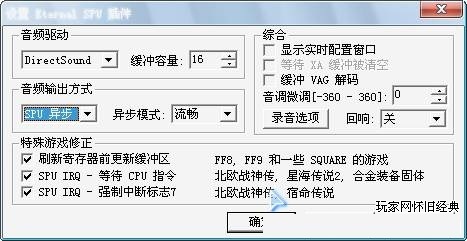
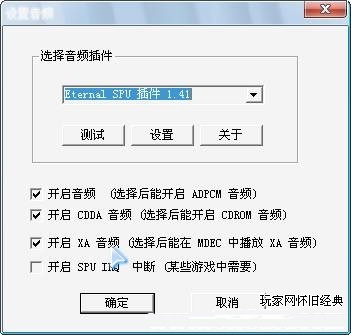
(4)音频选择第二个Eternal SPU 插件 1.41,选择后点设置
说明:缓冲容量一般16就可以了,有杂音可以调高点,不要太高了
输出方式用SPU异步,后面选流畅,右上角的3个框都不要选,玩DQ7特殊游戏修正可以不选

选好继续下一步
(5)CDROM就用默认的
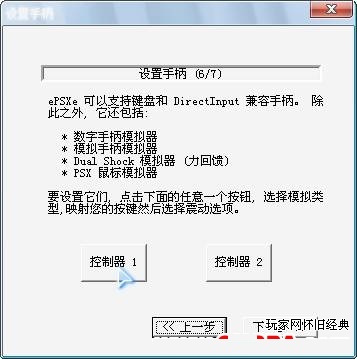
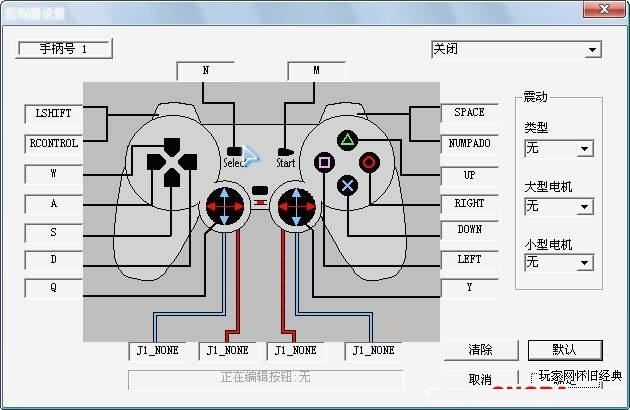
(6)这步设置控制器,有手柄的可以用手柄,没有就用键盘也可以,用键盘的话摇杆不需要设置
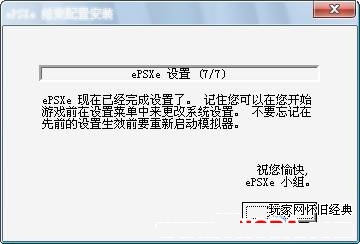
(7)最后点完成,设置向导就结束了

点设置→音频,在弹出的窗口中把第三项选上,PS模拟器的设置到这里就结束了。
下面就可以运行游戏了,点文件→运行ISO,打开DQ7 。
1、PS1模拟器汉化版作用十分强劲,可是容积却不大,只必须3MB不上的室内空间
2、能够运行绝大部分PS1游戏,适用大量游戏,不能运行的游戏初次降至1%下列
3、PS1模拟器特性平稳,在一颗非常好的CPU适用下,能够30fps平稳的运行游戏
4、操作方法简易,这款PS1模拟器不用安裝,下载缓解压力以后就可以立即开展应用了
返回顶部
Copyright © 2009-2025 KKX.Net. All Rights Reserved .
KK下载站是专业的免费软件下载站点,提供绿色软件、免费软件,手机软件,系统软件,单机游戏等热门资源安全下载!
本站资源均收集整理于互联网,其著作权归原作者所有,如果有侵犯您权利的资源,请来信告知
 YOWA云游戏官方版 V2.0.7.866
 布卡云电脑版 v1.6无广告版
 qq游戏大厅官方版 v5.54.5免费版
 虚贝游戏租号上号器客户端 v6.0官方版
 橘子平台专业版 v10.2.89
 KK对战平台正版 v2.1
 Cocos正式版 v2.3.2
 WeGame(原TGP) v5.12.2去广告版