Dui Designer(UI设计软件)
下载地址
下载地址
")

本地下载文件大小:346KB
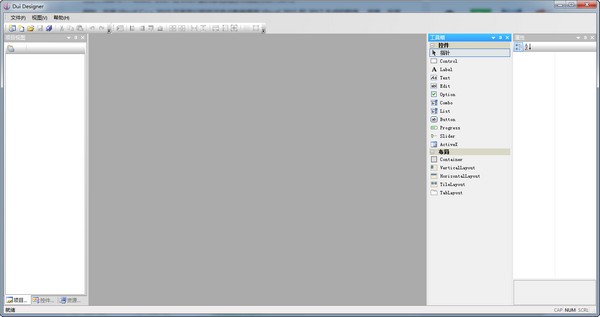
1、打开设计器:
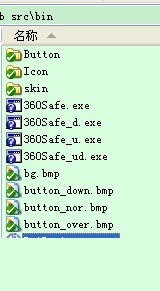
在duilib源码的bin目录里,【DuiDesigner.exe】就是UI设计器(这个设计器需要重新编译一次,不然打开XML会崩溃)。
2、新建项目:
菜单里选择【文件】--【新建】--【文件】,再点击保存将文件保存到指定路径。

3、新建布局:
由于前面的教程已经详细讲过布局和标题栏,所以这里直接弄出一个标题栏布局。
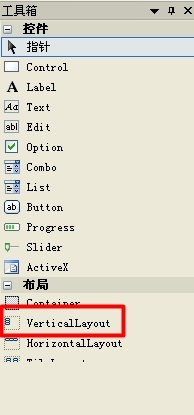
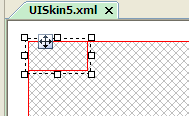
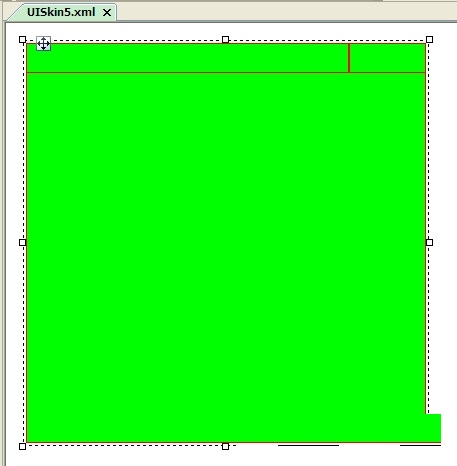
(1)加上一个VerticalLayout 布局,做为整个窗口的布局(由于设计器不能拖拽控件,所以需要先点击工具箱里的VerticalLayout 控件,再点击界面,即可加上控件),如图:

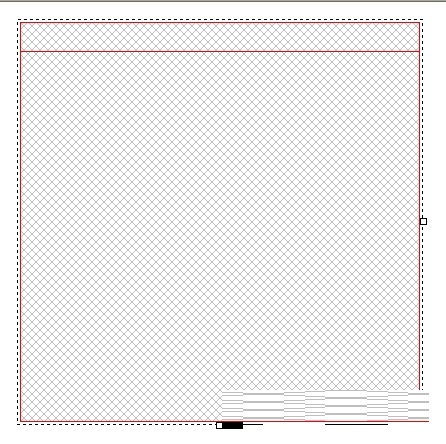
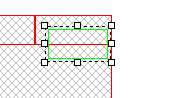
(2)加上一个HorizontalLayout 布局,做为标题栏的布局:
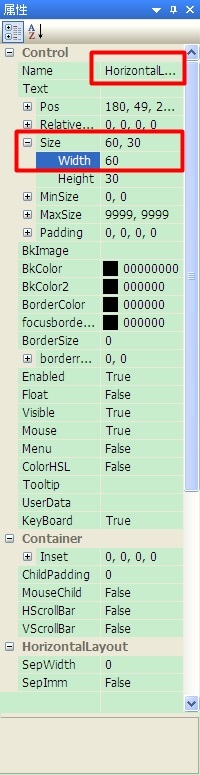
发现HorizontalLayout 布局并没有沾满整个窗口的宽度,所以需要调整,
在属性里面,将【Size】展开,将【Width】填为0,即可自动拉伸宽度。(注意,需要先点击一个控件,才能设置属性,不要点错了控件哦~)
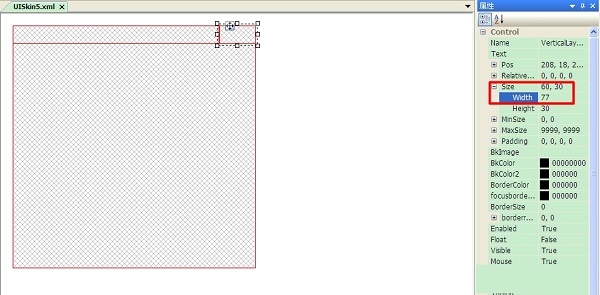
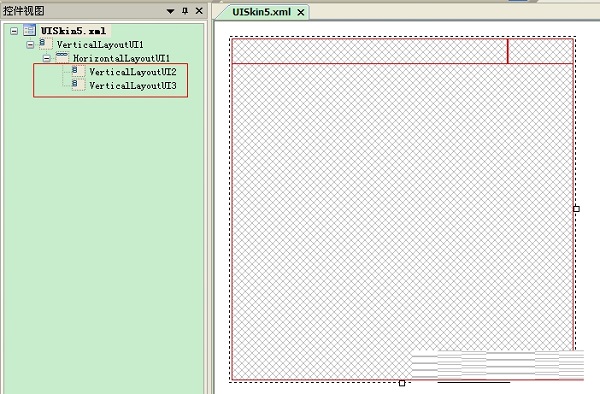
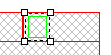
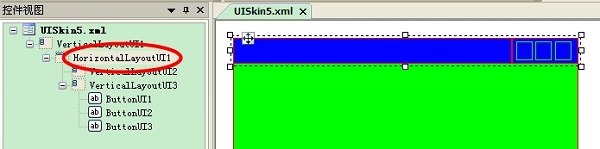
(3)加上两个VerticalLayout 布局,做为标题栏的左边的占位布局和右边的按钮布局(前面已经介绍过,VerticalLayout 和 HorizontalLayout 有时候可以互换,但是用交叉的方式一般都不会错,交叉方式即VerticalLayout 子节点和父节点都是HorizontalLayout ,而兄弟节点是VerticalLayout ):
右边的布局width改为77
注意,别把布局点错了位置,此时左边的树形应该如下图:
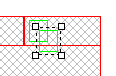
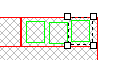
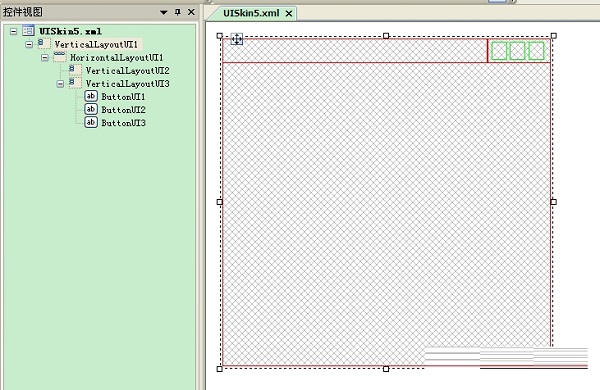
(4)布局好了之后,我们往上面加按钮:
先点击Button控件,再点击右上角的按钮布局,可以看到下图:
这时可以拖拽边框调节控件大小,也可以拖动控件的位置。
此时我们可以按Ctrl+C、Ctrl+V复制按钮
然后把按钮拖到相应位置
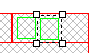
同理,加上第三个按钮,如下图:
这个时候,我们可以将三个按钮顶端对齐:
先选中三个按钮
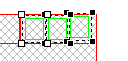
,然后点击【顶端对齐】按钮
。
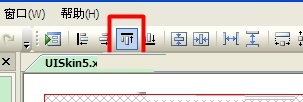
接着点击【横向】按钮
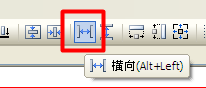
,使三个按钮水平方向均匀间隔开来。
方法已经举例说明了,具体的位置和间隔还需要小伙伴们慢慢调整。
可以看到设计器调整控件的位置和大小还是很方便的~
注意,要记住时不时的按下Ctrl + S,不然设计器崩溃了,就不好了~
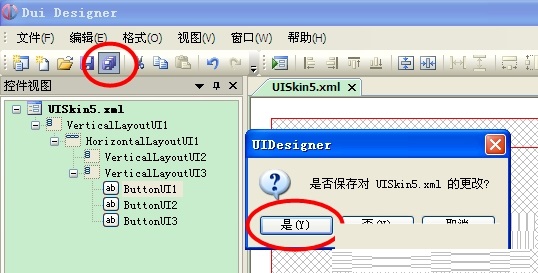
下面我们来看看XML的内容,在Tab上面右键,选择【打开所在的文件夹】,
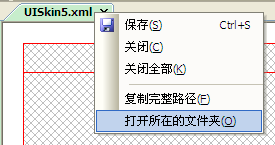
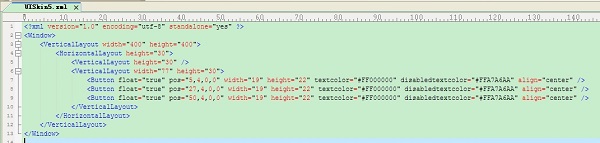
然后打开XML(发现只是打开文件夹,木有定位到文件o(╯□╰)o),此时的XML文件的内容如下:
(5)其实到这里,就可以抛弃UI设计器啦~~~
但是好歹是大神花了心血搞出来的,其实多用用SVN,记得随时Ctrl+S,还是可以放心的用的~
下面就接着介绍一些属性吧,
在duilib源码的目录下,有一个文件【属性列表.xml】,这里介绍了所有控件的属性,虽然有一点点遗漏,但是已经够啦。
所以详细属性就请看【属性列表.xml】,这里只介绍一些常用的属性。
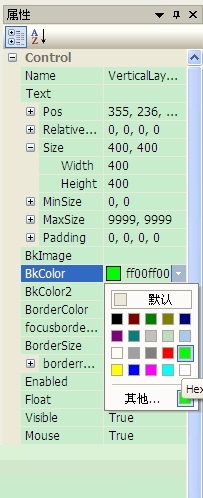
我们先给窗口背景换成绿色,
选择整个窗口的布局后,设置【BkColor】属性即可
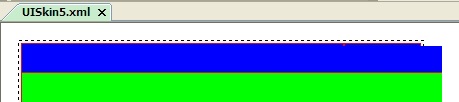
同理,设置标题栏布局的背景色,由于标题栏布局已经被两个子布局遮住,所以这时需要点击左侧的树形控件
然后给按钮也加上背景色,
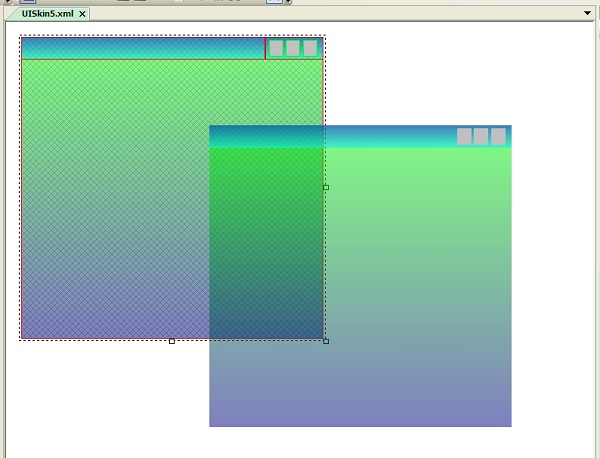
现在我们把标题栏换成渐变色,
除了设置【BkColor】外,再设置【BkColor2】即可,
把窗口背景换成三色渐变,再设置【BkColor3】即可,不好意思,设计器里面木有这个属性,需要手动在XML里添加~~~
一切就绪以后,我们可以点击【测试窗体】按钮看看窗口效果
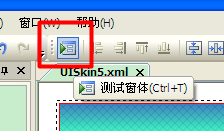
按下【Esc】键即可关闭【测试窗体】
它主要分为六个模块。
1设计一个皮肤窗口,并添加控制来规划您的皮肤。
2是WND窗口,请单击1和2以查看属性栏的更改。
3在控件上添加一个窗口
4为属性设置窗口
5用于窗口测试和控制对齐窗口
6是添加的控制级别视图窗口,当然它有三个TAB,只有控制级别最有用。
编写XML时,请务必注意:
DUILIB XML必须具有低级布局。
无法直接在WND上添加控件。
说明这个工具可能有很多bug,属性更改失败,不时崩溃等等,但我的崩溃次数较少,新手可能会遇到更多,但不要抱怨,毕竟这样的工具非常有价值。
也许你已经在属性栏中看到了很多属性,你可以尝试添加图像,修改颜色,修改边框等,然后你也可以看看WND的属性,什么是CAPION,什么是MINMAXINFO。
返回顶部
Copyright © 2009-2025 KKX.Net. All Rights Reserved .
KK下载站是专业的免费软件下载站点,提供绿色软件、免费软件,手机软件,系统软件,单机游戏等热门资源安全下载!
本站资源均收集整理于互联网,其著作权归原作者所有,如果有侵犯您权利的资源,请来信告知
 MindManager电脑版 v21
 ColorPicker(颜色提取器) v5.6.0.2310
 Draw.io(绘图工具软件) v24.1.0 纯净版
 像素蛋糕电脑版 v6.2.0
 图怪兽(绘图设计)PC端官方版2023最新 V3.2.1.0
 万彩手影大师纯净版 v2.7.0
 CorelDRAW X7 简体中文版
 CG Magic免费版 v5.2.2.0